

1901-1903
57×23 cm
orlikprints.com
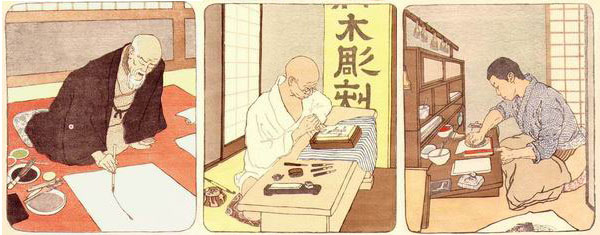
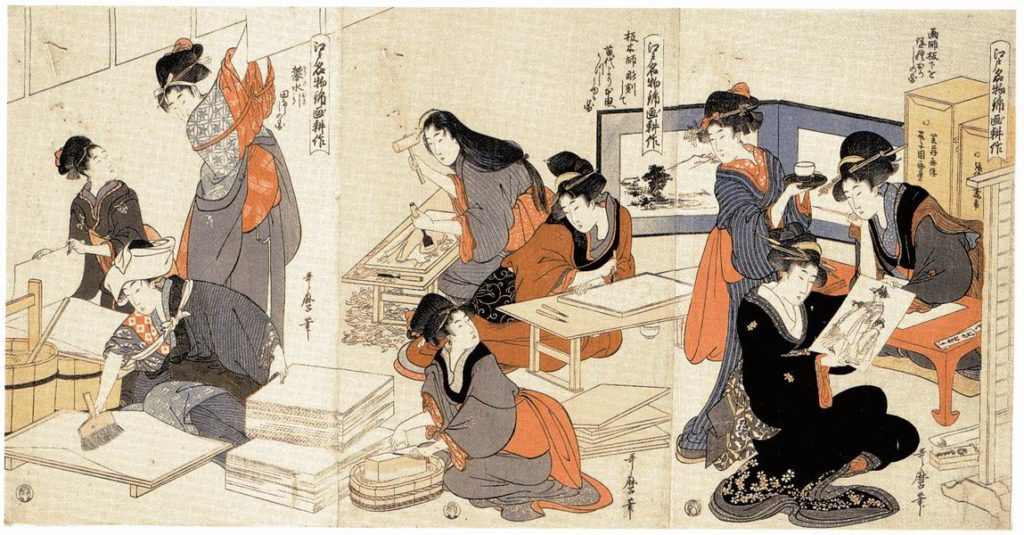
A print is made in three steps
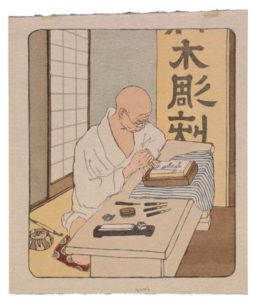
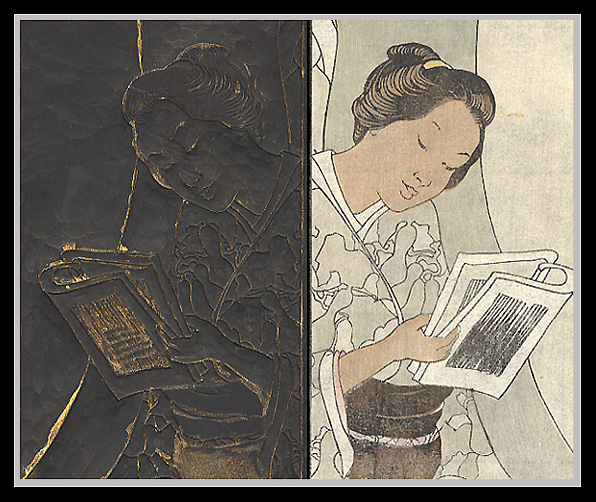
1) Paint a work of art
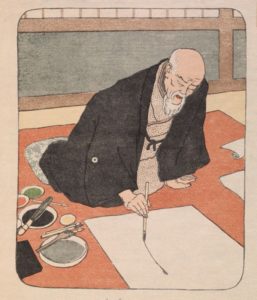
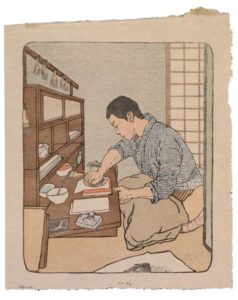
The Japanese Painter Kano Tomonobu
1901-1903
16×19,3 cm
San Francisco Fine Arts Museum
This step is obviously done by the artist himself. He paints on a very thin and translucent paper.
Bertha Lum did this way at the beginning. After few years (around 1916) she used photographs : she painted oil paintings or watercolors and took photo. The photo was then glued or printed directly on the block of wood. That is why we can find sometimes original paintings in auction. The original is usually bigger than the woodblock print. (See the comparison’s page)
Bertha painted more landscape than portraits. She committed nevertheless several portraits. These portraits were based on photographs. The portraits were photorealistic (for example the portrait of Her Majesty T’zu Hsi and Princess Der Ling) and most probably painted upon a photograph. The portraits of Rudolph Valentino or Vilma Banky are without doubt painted upon photographs.
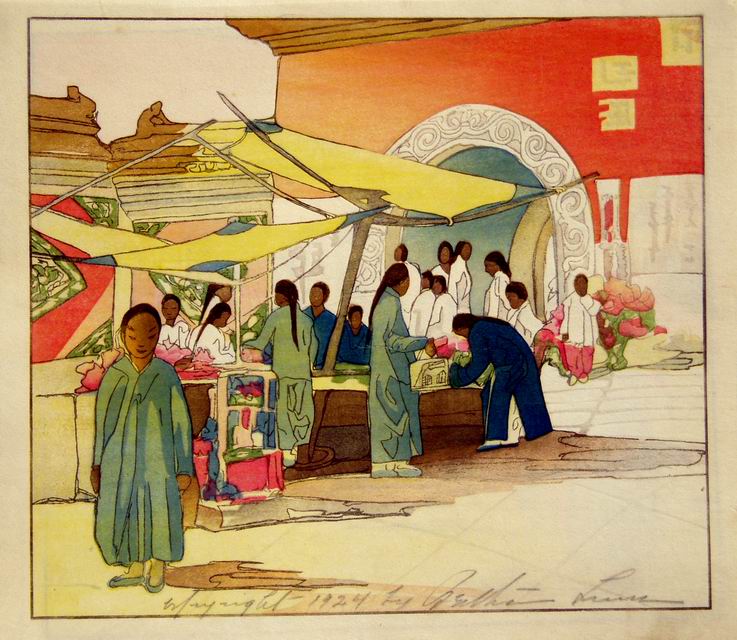
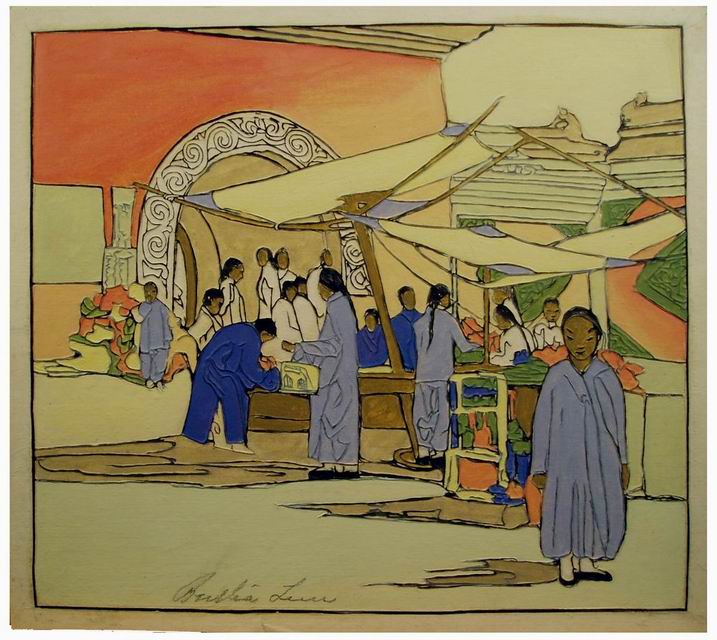
She also used photos to create woodblocks prints : in1923 Lung Fu Sou, Chinese Curio Market, and Dragon Well in 1924.
When one looks at the first version of Lung Fu Sou, in 1923
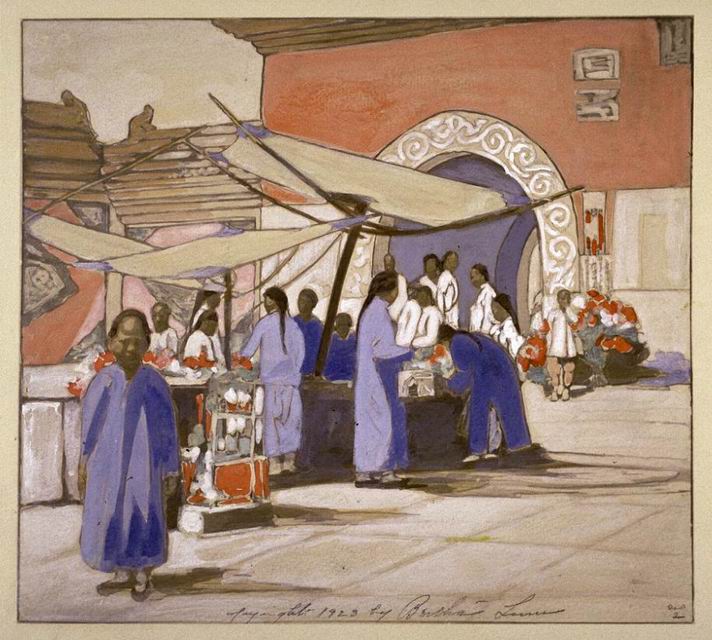
, one is surprised of this very realistic picture : usually a woodblock print is a simplification, with big solid colour. This picture is not a woodblock print : it is an opaque watercolor over a photo. The photorealistic treatment of this picture disappears in the two other versions of.
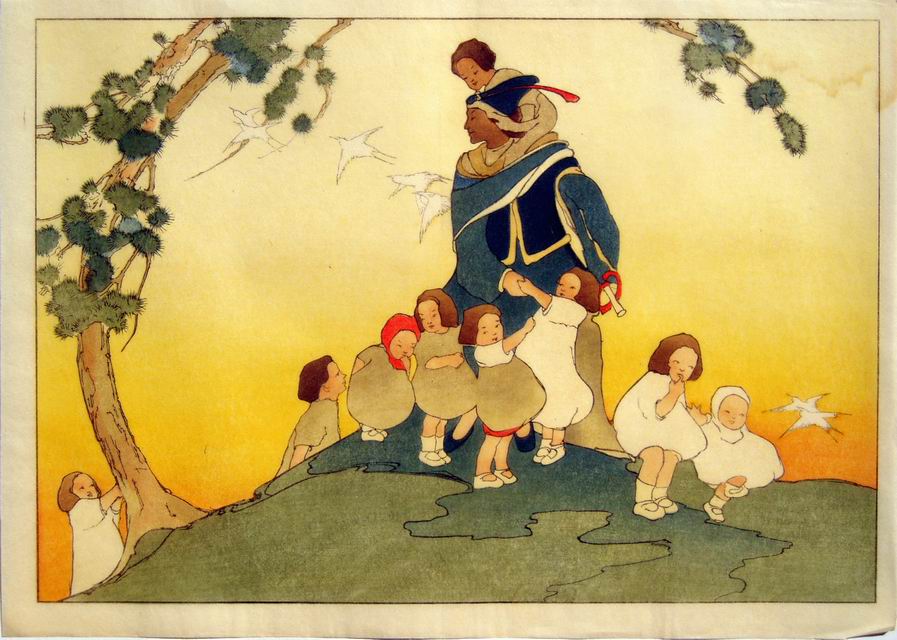
She also used a photograph to create her drawing of Jizo, in God Goblins and Ghosts.
Here is now an exceptional picture to illustrate this article.
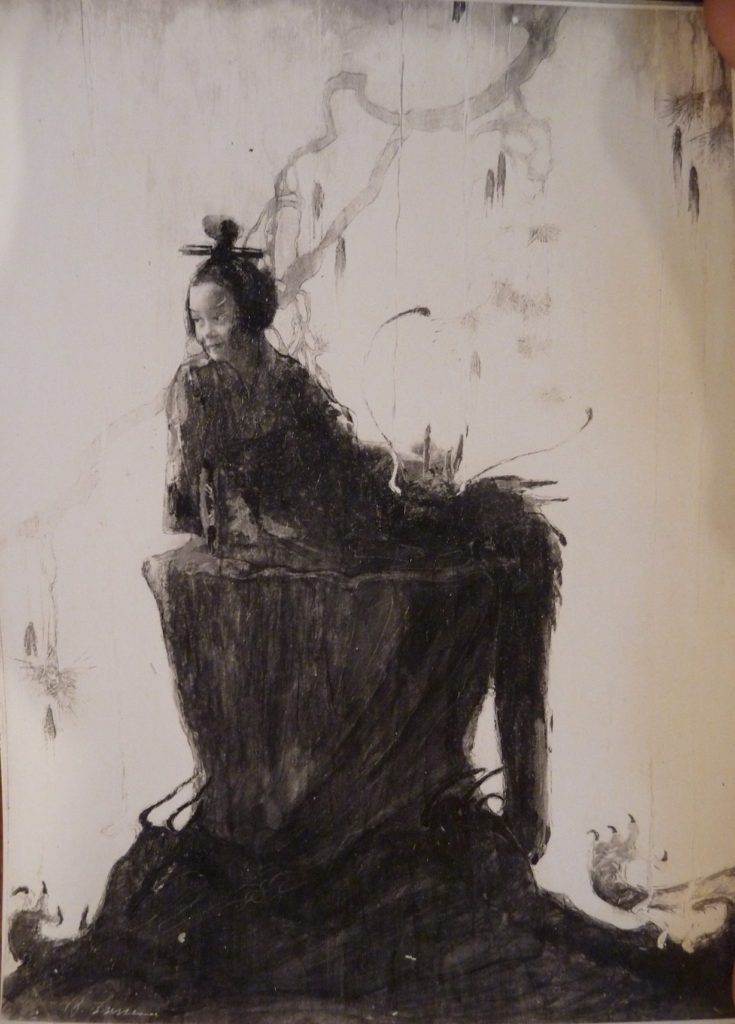
As guessed above, Bertha painted upon photos to create her design.
Bertha was always inspired by the great artists of the past : Hokusai, Hiroshige and also Utamaro that she admired a lot.
She was also inspired by the stories of Lafcadio Learn. Several of her early prints are characters from Lafcadio’s books : Aoyagi, Tanabata, O Sono and O Yuki. When she moved to China, she continued to paint/print pictures inspired by the local folklore : The Emperor Ming Huang and his concubine Yang Kuei inspired her several times (Butterfly dance and Ming Huang and Yang Kuei Fei of course) ; the Lost City of Kara Khoto, the Peking Dust or the West Wind that blows on Peking.
2) Cut the wood blocks that will be used to produce the prints.
Japanese Woodcutter
1901-1903
16×19,3 cm
San Francisco Fine Arts Museum
Somebody else frequently does this step: an engraver. Bertha Lum had learned this craft and therefore cut her own blocks at the beginning of her career. (see the Biography) But when she came back to Japan in 1910 she hired carvers to carve her blocks.
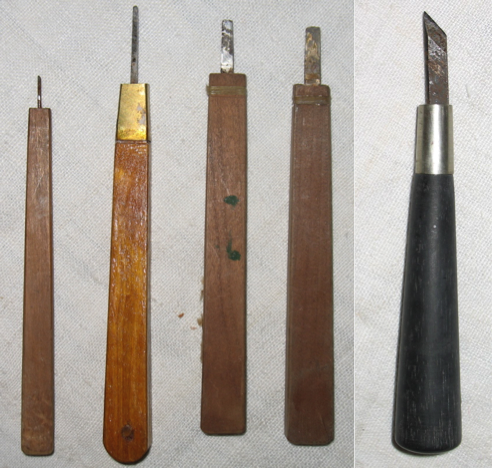
To cut the blocks, the artist has to sacrifice his painting: it is put face down and glued on a wooden block (cherry wood is the best). Then the engraver will start working the wood using specific tools that resemble scalpels.
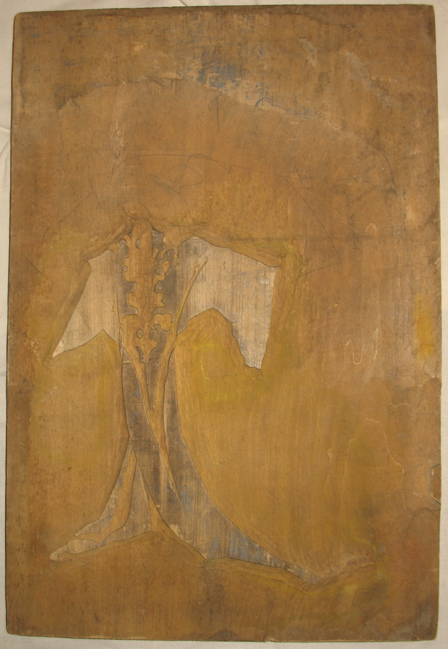
The craftsman will cut the wood until nothing remains except for the outlines, which are now in relief. This woodblock is called “keyblock”.
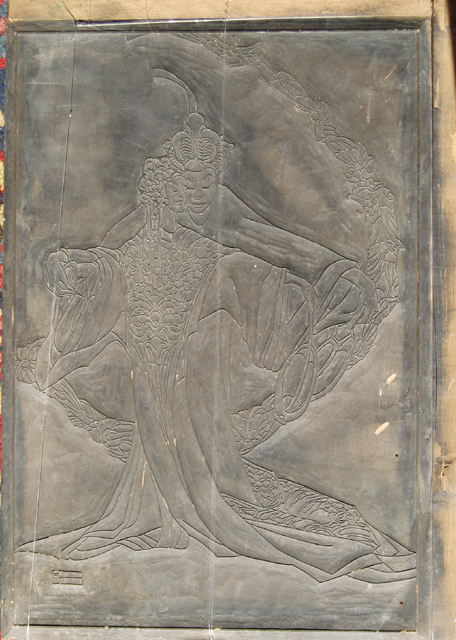
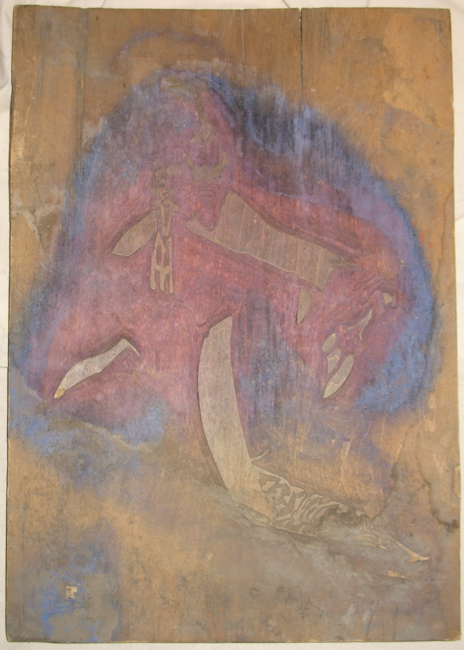
Keyblock of Ming Huang and Yang Kuei Fei – 1924
and detail of Sister’s keyblock – 1907
Once the keyblock is made, the craftsman will cut the colour blocks, one block per colour present in the original painting. In other words, for a given area (or areas) on the original picture in a given colour, the engraver will make a woodblock where the only area left in relief corresponds to this or these areas.
A single woodblock print may thus require up to thirty carve woodblocks, depending on the complexity of the artwork.
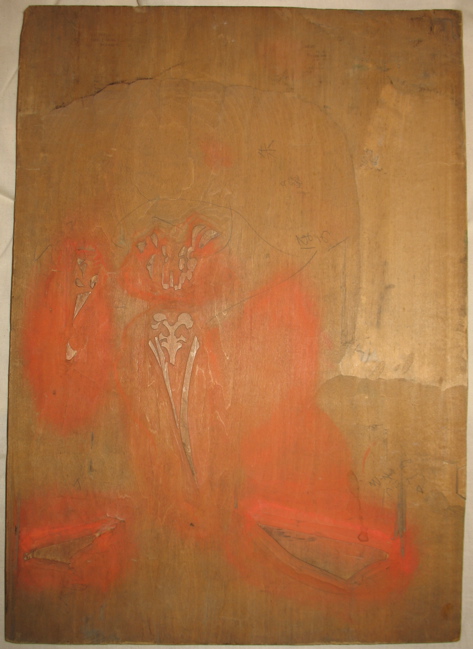
3 color Blocks used to print Ming Huang and Yang Kuei Fei
To see more of these blocks and others, please go here.
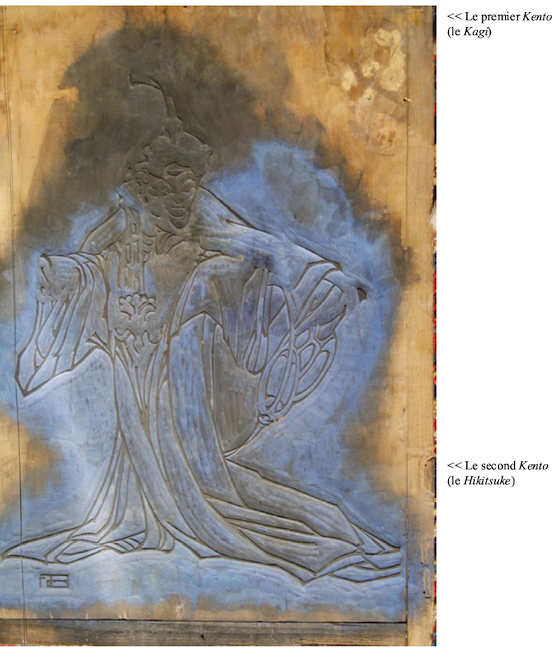
To make sure that the different colours are properly aligned and do not overlap on the final print, the cutter made two incisions on each block, one in a corner and the other half way along one of the sides. These incisions are called kento.
3) The third and last step is the printing
Japanese Printer
1901-1903
16×19,3 cm
San Francisco Fine Arts Museum
The third craftsman is the printer, and he is in charge of the last step: making the colour prints.
The printer will place a mixture of pigments, water and rice glue on the woodblock. He spreads it evenly with a brush.
He then places a sheet of paper, which will become the wood block print, onto the wood block. He makes sure the sheet is placed properly on the block thanks to the two kento.
He will rub the sheet of paper with a stamp wrapped in bamboo leaves (the baren ); thus the paper will take up the colour properly
The printer will start with the blocks for the lighter colours and end with the blocks for the darker ones.
You can see here the different stages of printing one of Hiroshige print.
In 1922, Bertha went to Beijing. She wanted to learn the chinese technique of woodblock printing. When she went there she discovered an old technique she decided to improve : the raised lines technique.
Prints printed with this technique are quiet different as the japanese ones : the black lines (printed with the keyblock) are “raised”. In 3D if you prefer.
Bertha kept her “recipe” secret but Peter explains in “My own Pair of Wings” how she did it : p.151-152.
“The similar process, as my mother developed it, could be used to produce a print where the outline was raised an eighth of a inch or so from the paper. Wire ? Gesso ? Glue ? At first she kept this new process secret, but she ned not have bothered. You have only to see the expression that comes into the eyes of an intelligent person when you explain that it is simply a question of not flatening out the print after it has been printed by Chinese as opposed to the Japanese method, face up instead of face down.”
Bertha printed these raised lines prints only with the keyblock ; the same keyblock as the one used to print the normal print.. The raised lines print is a “negative” of the “normal” print.

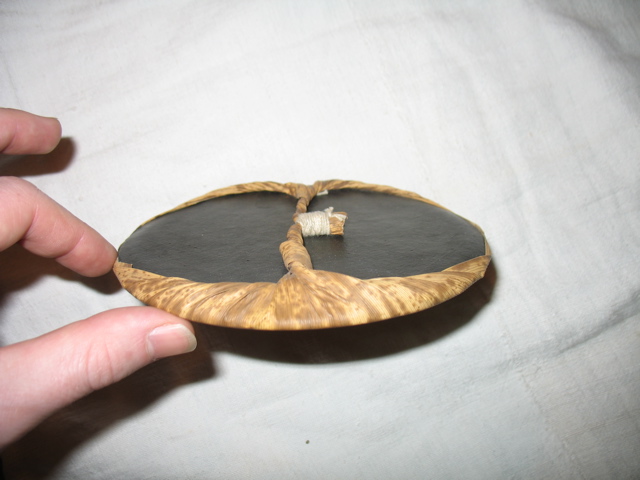
Chinese Hat ~ flat 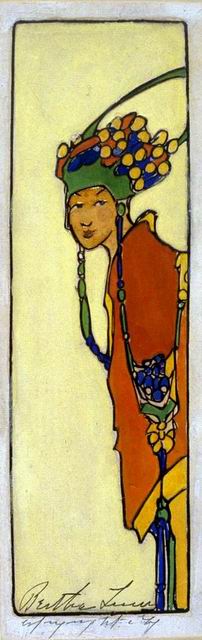
Chinese Hat ~ raised lines
BUT, the raised lines was NOT ALWAYS printed with the same block as the normal one : it was not always a negative picture nor the same size. Ming Huang and Yang Kuei Fei is a very good example of this incongruity. Same direction and not the same size at all.
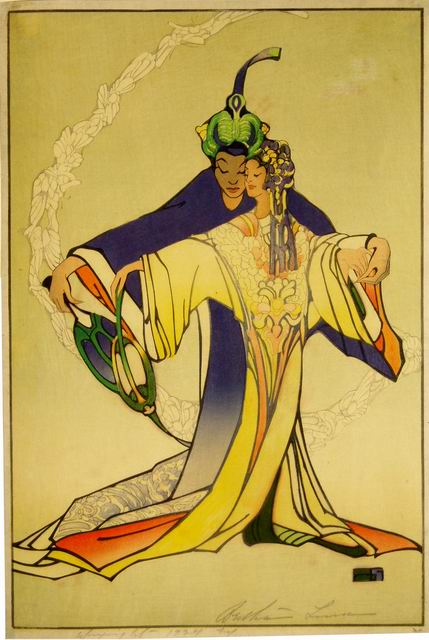
25,1×37,6 cm 
47,6×69,2 cm
The print was then painted by hand, between the raised lines. This is why some raised lines prints from the same block are very different.
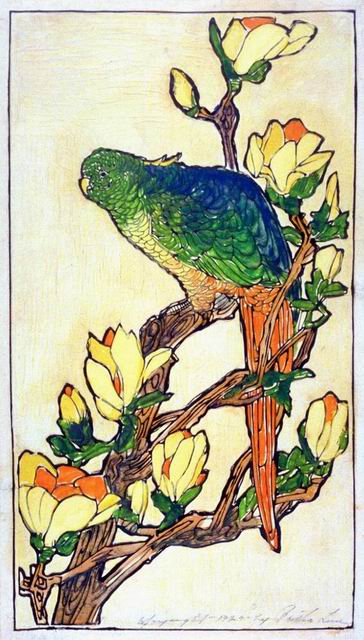
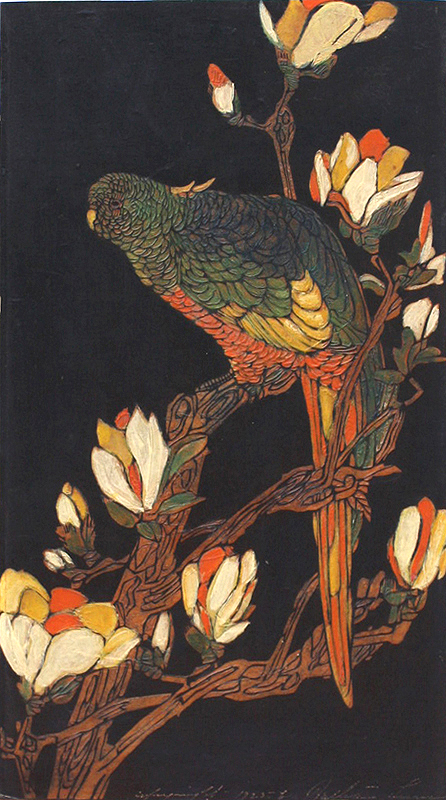

Parrots ~ 1925
26,6×47,3 cm